What Do You Need for a Home Golf Simulator?
A lot of buyers talk about buying a golf simulator as if it is one big product. In real life, a home sim is a stack of choices that need to work together: monitor, hitting surface, ball containment, display path, software, and enough space to make the whole thing feel natural.
The easiest way to waste money is buying those parts in the wrong order. The smartest way is to solve the room, then build outward from there.
The pieces you really need
1. A launch monitor
This is the brain of the setup, but it should still be chosen after the room. A great device in the wrong room is still the wrong buy.
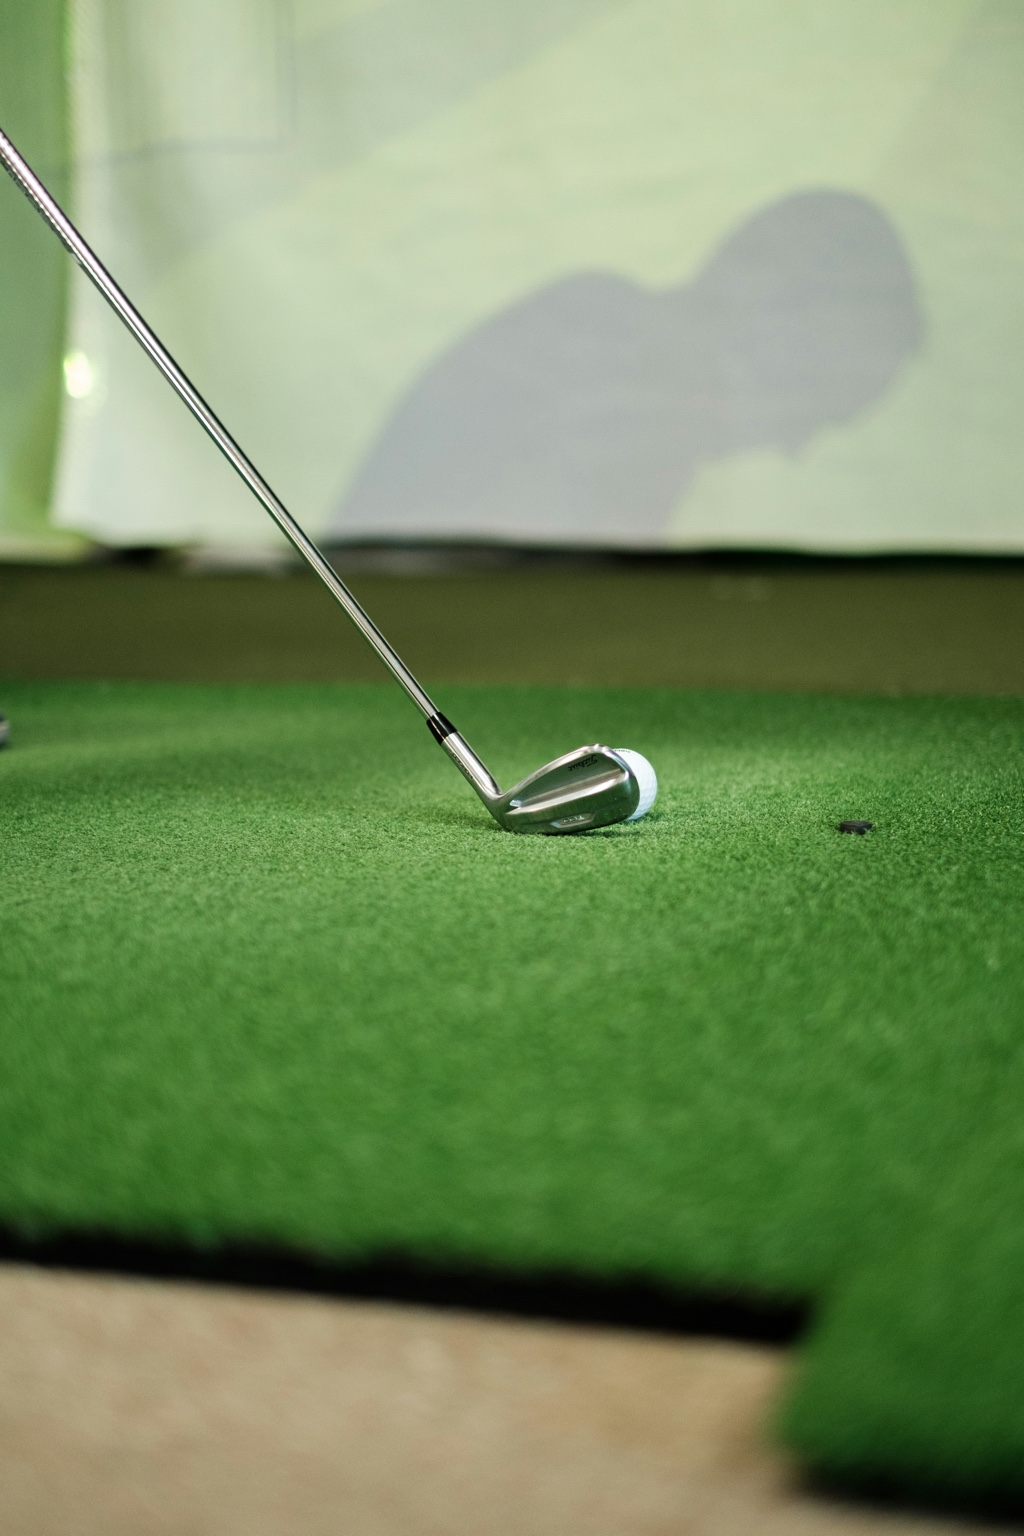
2. A mat or hitting surface
This is not just a strip of turf. It affects comfort, injury risk, strike feel, and whether the simulator feels good enough to use often.
3. Ball containment
You need either a net or a more complete enclosure/screen setup. The right answer depends on budget, room polish, and whether the build is permanent or staged.
4. A display path
That can be a projector and impact screen, a monitor or TV, or a simpler first-stage solution. Not every setup needs the full projector treatment immediately.
5. Software
Many buyers focus on hardware and forget that simulator software changes both cost and experience. If software matters to you, it should be part of the early decision, not an afterthought.
6. Enough space to make it all work
Space is not a bonus requirement. It is part of the system. The wrong room can make every other decision worse.
What is optional at first
- A premium enclosure instead of a simpler net setup
- A projector instead of a simpler display path
- A more polished floor, wall protection, or room finish
- A gaming PC if your first-stage setup does not need one yet
- Higher-end accessories that make the room nicer but not more workable
The best order to buy parts
- Confirm the room. Width, depth, and height change everything else.
- Choose the monitor. Make this decision after the room, not before.
- Lock in the hitting position and mat. This is the part you physically live with every session.
- Choose containment. Net first versus enclosure first is often a budget and permanence decision.
- Choose the display path. Start simpler if the room or budget is not ready.
- Add software and polish around the core build.
What buyers get wrong
- Buying the projector before solving the room and monitor
- Treating the mat like an afterthought
- Buying a package without understanding what still needs to be added
- Building around price first and compatibility second
- Trying to finish the dream room in one shot instead of building the right room in stages
Bottom line
You do not need every possible piece on day one. You do need the right foundation in the right order. Solve the room, choose the monitor that fits it, and build the rest around that reality.
Choose a launch monitor Check room fit first See enclosure options See projector options